Tuesday, May 9, 2017

Morning Meditation


I love the tiles floors in our classroom. They have proved so useful this year! I use them in many ways but one way is to teach the kids to be still. For some time I taught English to students in China virtually. One of my students (11 years old) told me a technique her father used to teach her to study. He would have her sit quietly for a time appropriate to her age. When the time was up she got a treat. I started doing this with my kids at the beginning of the day. 


My children are instructed to sit in the square. No hands or feet outside the square, no talking, no playing, be a statue. SJ closes her eyes during this time to tune out her brother and will often face away from him. KJ is wiggly (which is appropriate for 4) however, he can go the entire time without talking. The time is between 2 and 4 minutes depending on our morning.
 After meditation the receive a prize. 


The objective is to teach them to be still on demand. As homeschoolers most of our day is spent up and about they are all over the classroom, the house and eventually outside. Compared to their counterparts in public school they move a lot. On Sundays at church they are in children's church so they are able to sit still for the lesson and pay attention without any problems. 

Meditation is a good practice the Bible tells us to "Meditate on the Word of God day and night." Joshua 1:8 it also says to, "Be still and know that I am God." Psalm 46:10


Math Families


If it seems like we are all over the place when it comes to math we are. I follow SJ's interest and try not to discourage her by the order in which I think she should learn. The way I see it addition and multiplication are similar so are subtraction and division. So while she is hitting the ground running I am still trying to insure there are no learning gaps. So we have been talking quite a bit about math families. 

This was a pretty easy concept to introduce because shes learned about word families. This concept was picked up really quickly because as my oldest child SJ likes to be in control. The ability for her to catch her mistake has been invaluable to her.


When I walk by her before she has had a chance to finish and check her work she immediately covers it, not wanting me to correct her before shes reviewed it. I'm really enjoying the responsibility she seems to be developing. I want her to take pride in her work and do well and that seems to be the case...at least when it comes to math.

Bead Multiplication


Its no secret that my oldest is a STEM girl. She loves math so I am always looking for ways to foster and grow this love. We discovered this activity when she wanted to do math but not in her math book. I keep beads on hand for the kids. In this case I wrote various multiplication problems on SJ's white board. She then used the beads to show what each problem looked like with the beads, Once she successfully answered the question on the board and with the beads she could move to the next problem. At one point both younger kids needed me so she answered all the questions and waited for me to check her work. 


This was a fun activity that allowed her to be creative as well as practice her classification skills. When starting this activity it is important that the student understand their one's and two's multiplication facts. These are to be understood but don't have to be memorized. Once the student understands the task you are only limited by the amount of materials you have on hand. 

My five year old is very familiar with this activity but recently my four year old has shown he can show the multiplication problems he sees with the beads as well. This is why I homeschool. I love seeing what my children gravitate toward while its happening then discovering how I can help them be great!

Wednesday, January 18, 2017

Shower Curtain Book Nook


I have been obsessed with all these cute book nooks and teepees. So I'd been thinking of a way to make it work for me and my kiddos. I found it! Shower curtains! Why should shower curtains be restricted to the suddy, steamy messy room that houses the commode. No! I will liberate the shower curtain! Free it from its prison and present it as an offering to my messy kids!


Its water resistant fabric makes it easy to clean and the hooks make for easy take 
down as I re-model in the future. 
Really though this was the easiest, quickest nook ever and they love it!


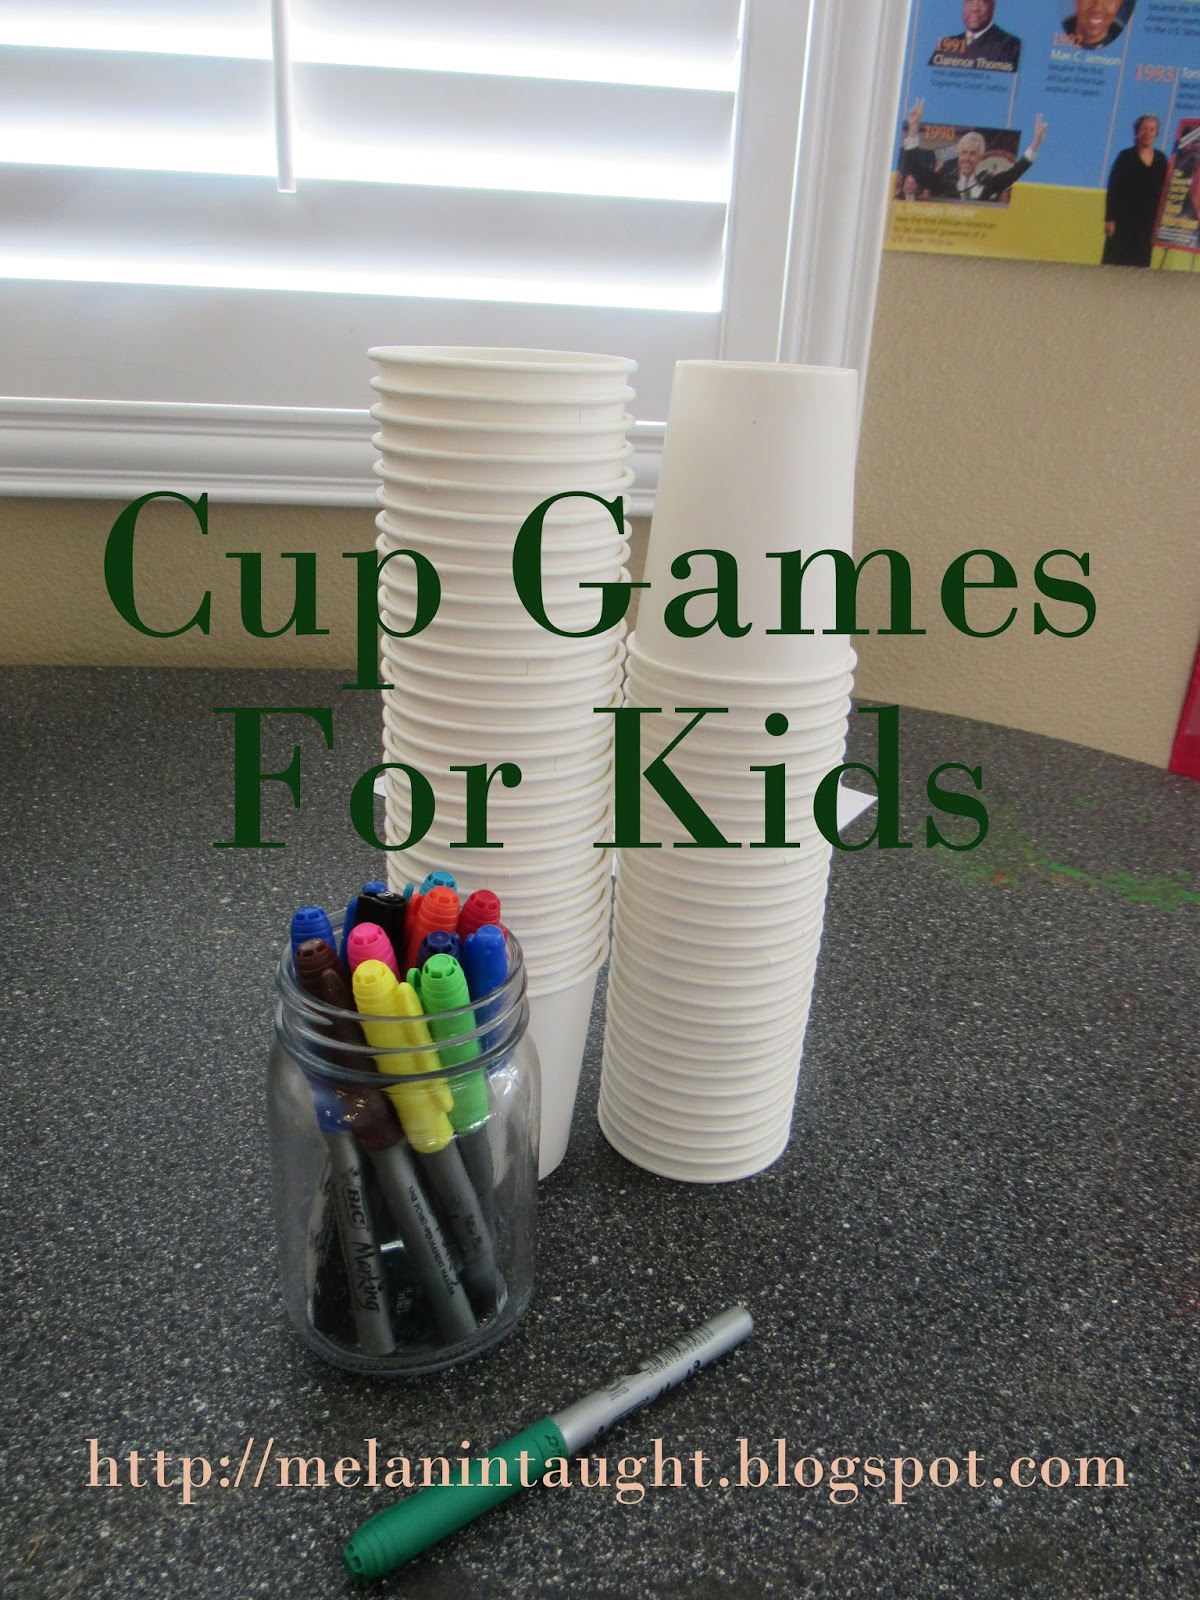
Cup Games for Kids


This past weekend I had the pleasure of helping my sister host a baby shower. We had some cups left over and in the blur of exhaustion set the cups down on the floor by the front door. Days later (don't judge me) I finally picked up the cups. Did I mention we have a dog, a various curious dog who I am sure put her nose in the cups. So what was I to do with these paper cups? Games!

I took the cups and put letters and numbers on them. I told the kids it was game day and I set the game rules they had a blast!


For the Math Game we used our Base Ten blocks and put the appropriate tens and ones inside the cup to make the number.


As the kids filled the cup I would stack them. They loved seeing the stack grow as a mark of their accomplishments.

We then flipped the cups over and used the letters to make words. Once the kids discovered a word I would write it on the white board. My kids are motivated by praise and a sense of accomplishment so seeing there progress is important for them.


I hope you and your kids enjoy these cup games!

Touching God


I am a mother of three little beauties who are currently are 5, 3 and 9 months. I am with them most of the time since I work from home. There may be 4 out of the 24 hours of the day that I am not touched by one of them and that's being generous. They want to cuddle, sit on my lap as I read, or crawl into my bed in the middle of the night. Sometimes they touch me for NO REASON AT ALL.

What if one day I told my three, "You can't touch me, only daddy can. If you want to touch me, touch daddy. If you want my guidance, direction, or affirmation, ask daddy. He will ask me and get back to you. If you want to know the plans I have for you ASK. YOUR. DADDY." Our relationship would be weak based only on daddies availability and filtered only through daddies understanding. God forbid something happen to daddy, they would no longer hear my heart, or know my will. The snippets of filtered understanding they got before would cease to exist.

Now imagine it the other way around. What if my littles ONLY wanted daddy. What if they preferred to ask him to ask me what they should do? What if rather than get a hug directly from me they asked daddy to ask me for proof of my love? What if they became comfortable with this arrangement and only touched me in passing because they were near their daddy. I would be HEARTBROKEN.

By now you get where I am going with this, I'm sure. If you are in a place where your relationship with God is dependent on another person you have to question the legitimacy of your faith. If you can only touch God through they remnant crumbs of another's personal encounter I am here to tell you there is more.

God wants you to touch Him (Matthew 11:28). In fact He became flesh, and became a sacrifice unto Himself so that you could go directly to Him (John 1:14). You want guidance and direction? Ask Him (Psalm 119:105). If you need affirmation. You are the apple of His eye!( Psalm 139:14) You want an encounter with Him. Seek Him (Matthew 7:7).

Enough stuffing your face with scraps of anointing from the tables of our teachers encounters. Enough being satisfied with Sunday and Wednesday meat and milk. Enough with starving yourself though out the week, then leaving God's presence unsatisfied!

The morsels are not for you! They are bites to whet the appetite of the unbeliever. The word you hear on Sunday morning should be confirmation of what God has been telling you throughout the week. How else will you know for sure that you are hearing from God through the mouth of your teacher? We have to take responsibility for our faith (Philippians 2:12). We have to stand up in our own lives least our faith be based on another.

Here's the best part! He never tires of our touch! He doesn't mind our dirty hands! In fact He says if we seek Him, He will answer! Oh, how He loves us! I encourage you, spend more time with Him, sneak away for moments in His presence. You will be blessed.

Tuesday, December 20, 2016

Let's Build A Car


What do you do with an empty box, bored kids and art supplies? You build a car! 

In the box above I have:
A hot glue gun
Pipe Cleaners
Paint
An empty egg carton
Star cut outs
Scissors
Round make up applicators
Styrofom or paper plates
A Shower curtain


The first thing I did was hot glue the shower curtain to my tile floor. 
This made for easy clean up and the hot glue did not damage my tile at all. 
Next I put some paint on a plate and let the kids apply it with the make up applicators.
They are kids and are going to make a mess but I find the applicators are easier to hold than paint brushes and you can throw them away after. 


While the paint dried I had the kids get started on coloring the wheels. The then put a star on each wheel. For the steering wheel I used the glue gun to melt a hole in the Styrofoam plate and use a pipe cleaner to secure it. 

We put the plate inside the box and pushed the pipe cleaner through the box. 
Egg cups from the egg carton were cut out to make headlights and yellow tissue paper was glued inside. They were secured to the front of the box using a hot glue gun. 


We used stars and pieces cut from a recycled box for the tail lights. 
The kids loved this activity and they still play with their car weeks later.


Lava Lamp Experiment

My kiddos ask to do experiments just about everyday! I actually will be reviewing a site that I joined for that purpose called Mystery Science in a different post. This experiment was very easy and a lot of fun. Most importantly you probably have most if not all these ingredients in your home already.


The experiment calls for equal parts oil and water, food coloring, and Alka-Seltzer tablets. 
**We tried the experiment with aspirin and it fell flat so we re-did it with 
Alka Seltzer and red food coloring. 


First we put the oil then water into the jar and let it settle. 
I asked these questions: 
What is happening to the water? 
What is happening to the oil?
Next we added a few drops of food coloring. Add as much as you like we did 6 drops.
I asked: What is happening to the food coloring?
(If the jar is steady it should stay together and not mix very much. 


Finally we dropped in the Alka-Seltzer tablet and watched the magic happen. 
I asked: 
What is happening to the oil and water? 
Why do you think that is?

Since oil and water do not mix, the water bubbles caused by the Alka-seltzer float through the oil  causing it to take on the same effect as a lava lamp. When the mixture is shaken the oil and water in time will separate again rather than mix. 

Friday, November 25, 2016

Oobleck!


During experiment week this one was a hit! The objective was initially to have the kids walk on water. Due to the limited supply of corn starch we did this experiment in a bowl rather than our kiddie pool. 
Here's what you need:
Corn starch
Water
Measuring cup
Food Coloring
Extras:
Shower curtain (for easy clean up)
Ball and car to explore how they react to the oobleck. 


This recipe is simple 2 parts corn starch one part water. The kids loved exploring to see the progression of consistency. Its extremely messy so here is a teaching hack I have learned. When doing messy learning I tack the curtain or table cloth to my tile floor using my hot glue gun.  
You're welcome.


The kids had a lot of fun discovering how this liquid behaves (at times) like a solid. They were covered in oobleck by the time we were done. I let them play with it after our official lesson so they could mix various colors. 


Here are some questions and discussion points. 
1. What are the stages of matter? (We focused on three rather than five)
2. What stage is this in?
3. How does each stage behave? 
4. How do you know something is a gas? A liquid? A solid?


Apple Walnut Sticky Buns


Ingredients

Dough:
1/4 -ounce package yeast
1/2 cup warm water
1/2 cup scalded milk
1/4 cup sugar
1/3 cup butter or shortening
1 teaspoon salt
1 egg
3 1/2 to 4 cups all-purpose flour

Filling:
1/2 cup melted butter, plus more for pan
3/4 cup sugar, plus more for pan
2 tablespoons ground cinnamon
3/4 cup raisins, walnuts, or pecans, optional

Glaze:
½ cup butter
1/2 cup packed brown sugar
1 Granny Smith apple chopped                                                                                                 
½ cup chopped walnuts


Directions
Heat oven to 350 degrees F.

In a small bowl, dissolve yeast in warm water and set aside. In a large bowl mix milk, sugar, melted butter, salt and egg. Add 2 cups of flour and mix until smooth. Add yeast mixture. Mix in remaining flour until dough is easy to handle. Knead dough on lightly floured surface for 5 to 10 minutes. Place in well-greased bowl, cover and let rise until doubled in size, usually 1 to 1 1/2 hours.
While the dough is rising. Place chopped apples in a sauce pan over medium heat. Add apples, butter, and cinnamon. Cook until sugar is dissolved and apples are soft. Add chopped walnuts. Stir well and place in a 9x13 baking dish.

Once dough is doubled in size, punch down dough. Roll out on a floured surface into a 15 by 9-inch rectangle. Spread melted butter all over dough. Mix sugar and cinnamon and sprinkle over buttered dough. Sprinkle with walnuts, pecans, or raisins if desired. Beginning at the 15-inch side, role up dough and pinch edge together to seal. Cut with a serrated knife into 12 to 15 slices. Place into pan cut side down.
Place cinnamon roll slices close together in the pan and let rise until dough is doubled, about 45 minutes. Bake for about 30 minutes or until nicely browned.

Remove from oven and immediately flip onto a serving dish. Allow to cool a few minutes and serve while still warm.

Raw Key Lime Pie


Crust:
½ Cup shredded unsweetened coconut
1 cup date honey
1 cup walnuts

  Filling:
1 cup raw cashews, soaked for 4-6 hours (or overnight), then drained
 3/4 cup full fat coconut milk, well shaken
1/4 cup coconut oil, melted
 3-4 large limes or 6-7 key limes (1 Tbsp zest, 1/2 cup juice)
  1/2 cup date honey (depending on preferred sweetness)

Crust Instructions
1    1.    Combine coconut and walnuts to a blender or food processor and pulse until well mixed.
2    2.    Place mixture in bowl and add date honey.
3    3.    Press mixture evenly into a pie pan and place in freezer


Filling Instructions

1.  Add all filling ingredients to a blender and blend on high (or liquefy) until creamy and         smooth. Taste and adjust flavor as needed, adding more lime zest/juice for more tart, or more agave for added sweetness.
2. Pour over frozen pie crust
3. Freeze for 2-4 hours or until firm. Remove from the freezer for 10-15 minutes to thaw before serving. Will keep covered in the freezer for up to 2 weeks.


DIY Bath Bombs for Kids


This past week was dubbed "Experiment Week". Day 1 was DIY Bath Bombs. 
Here is what you need:
 Empty Christmas Ornament or a Bath Bomb mold
 1 Cup Baking Soda
 3/4 Cup Epson Salt (Blended until its a fine powder)
1 Tablespoon of lemon juice
1/4 cup water
Spray bottle
Wooden spoon
Food Coloring
Essential oils
Coconut Oil


Place all the dry ingredients into a bowl and mix with a wooden spoon.
Next place the water, lemon juice, 1 tbsp coconut oil and essential oil (add per fragrance preference) into a spray bottle. Spray the liquid into the dry ingredients until the mixture has the consistency of sand. At this point we added food coloring. 


Once the mix starts to stick together start placing into the molds. Close the mod and allow to dry overnight. Due the the size of the ornament molds it took a few days to completely dry out. 


We covered the following topics: life skills, science, and math. 
Questions and discussion. 
1. Can you measure out a cup? 1/4 cup? 1/2 cup?
2. Why is it important to rest and relax?
3. What happens when the wet ingredients mix with the dry?
4. What happens when the colors mix?


Wallpaper Border Cover-Up - With Fabric


This past year we moved into our beautiful home. Unfortunately in the kids room there was this horrible wallpaper. My son loved didn't mind it but my daughter did not approve of the sports themed room. I knew I had to find a gender neutral alternative that fit both my kids personalities. 


My husband was not excited or motivated to go through the tedious process of removing the wall paper and I was not patient enough to wait so I had to come up with a solution.

I used a staple gun, scissors, and four yards of fabric. I folded the fabric in half length wise then in fours horizontally.  This gave me the width I wanted at manageable lengths. 
Here are a few project tips. 
1. Choose a fabric with little to no stretch. 
2. Choose a dark fabric that wont allow the wallpaper to show through.
3. Don't start a fabric end at the corner. Staple in the corner.


The kids loved the boarder once it was finished. Next time I do a project like this I will use a taller ladder so I can cover all the boarder at the top.
 For my first time on a project like this I think it went well. 

Tuesday, November 8, 2016

DIY Recycled Car Tunnel


For the past week or so the kids and I have been storing and stocking up on empty food boxes and toilet paper rolls. We knew we were planning for a project but we hadn't quite decided what. Well while KJ played with cars in the corner of the classroom genius struck. 
A car tunnel!

I quickly pulled out the boxes, a plastic container we don't use often and a glue gun. 
SJ drew a map of where everything should go then we put it all together. 


Parents I have three words for you: hours of fun! HOURS OF FUN!!


This is a great STEM activity. 
Vocabulary: Velocity, engineering, acceleration and deceleration
Questions:  How many seconds does it take for the car to go through the tunnels? Will it go faster or slower as we tilt the lid? 
You can even have your kids decorate the boxes adding an element of art to the project. When we were done with the project we carefully removed the tunnel pieces and placed them inside the container to use another time. 


Have fun with this project and please share your pictures of your tunnels below. 


Wednesday, November 2, 2016

Money Math


Today we had some fun with money! SJ(5) is currently working her way through Horizons 1 work book. She learned about money while working through the Horizons K book but for this level they are relating money to place value. 

This was the perfect excuse to pull out the base ten manipulatives. For this activity we used pennies, nickles and dimes. Though she uses quarters, half dollars and dollars in her math book. I think we will wait a little while to introduce them using base ten. 

I placed the money in different increments in front of SJ and she used the manipulative to assign the money value. 


We didn't leave out KJ(3) though. I just used pennies with him and it was a great chance for him to practice counting and writing. He is having a hard time, confidence wise, writing without assistance but my husband and I have decided not to give in to his fussing about needing help at all. We have seen him control his pencil and though we don't expect his work to be perfect we do expect him to try. When he is successful, which so far has been every time, he is so proud of himself. 


This was a great activity, the kids really enjoyed it and I think the younger children are comfortable with money they better they will be managing it in the future.